How to replace Cord Tilter on Venetian Blinds
Blinds
GET AN INSTANT QUOTE
MADE TO ORDER for you
Up to 3 YEAR manufacturers guarantee
Making blinds for 50 years
MADE TO ORDER for you
Up to 3 YEAR manufacturers guarantee
Making blinds for 50 years
Replacing the tilter on venetian blinds its very simple and will save you about $80 on average to get it replaced by most suppliers.
These instructions apply to most styles of venetian blinds in a wider slat, 50mm, 60mm and 63mm.
1 x tilter 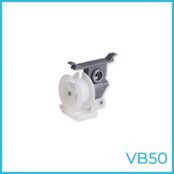 Tilter with a metal body is the most common and reliable you will find.
 If your blind has a Fascia (Valence) covering the top rail it will need to be removed first to give you access to the brackets.
Normally Fascias are attached either with Velcro, double sided tape, metal or plastic clips. If attached with Velcro you should be able to pull it out carefully.
You will find the brackets at each end of the blind. On wider blinds you will have centre supports as well but we don’t need to worry about those.
Push the bottom of the bracket upwards and then pull the front out. Repeat with the opposite side.
Your blind is now free to be removed from the brackets.
 Identify the cords that are connected to the Tilter.
Those should be single cords attached to a single tassel.
On the example you can see there are 3 tassels, one of those have 2 cords in a single tassel which is not a tilter control cord.
 Pull the cord from the bottom of the tassel and undo the knot at the end of the cords.

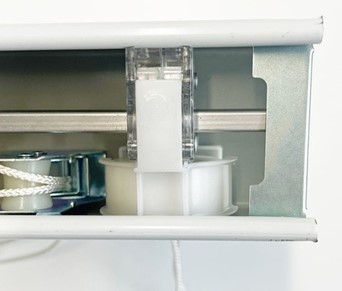 Tilter controller in a normal size blinds will be located at one of the far ends. You can identify it by looking at the shape and you will see some sort of a wheel.
Alternatively just follow the cords from our previous step which will be connected to the tilter controller
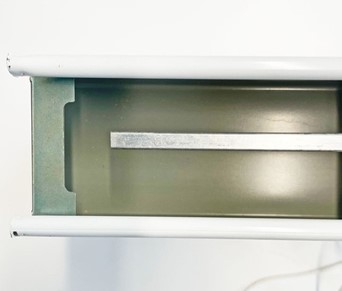 Most quality wooden blinds come with an end lock at the end of the rail.
You can slide those off to have more room to work with.
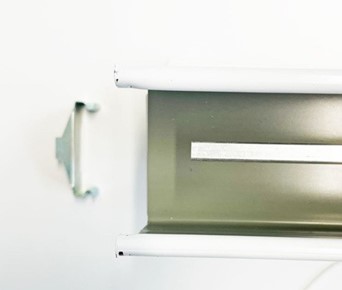 Remove from both sides of the rail.
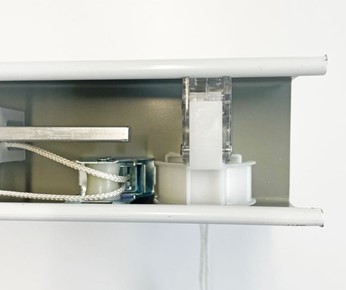 Slide off the Tilter controller the aluminium rod.
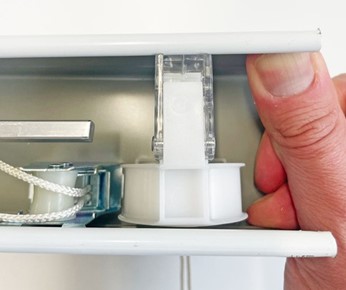 To remove the tilter controller you may need to push the rail slightly to the back to release it.
A little wiggle will help as well.
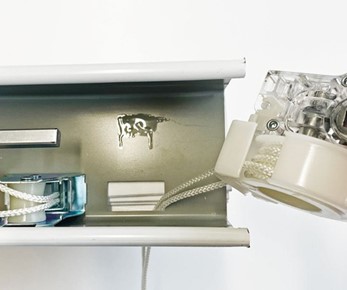 Pull the control off the rail and the cords through the slot.
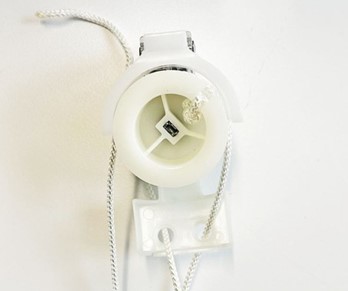 The base of the tilter should open for easy access to the cords.
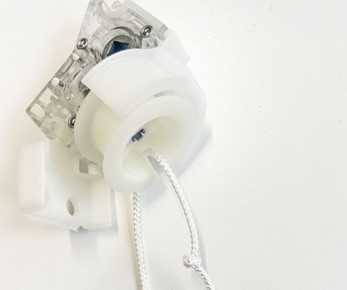 Unwind the cords and pull it through the controller.
You may notice a knot in the cord, the knot indicates the exact middle of the total cord length
The cord knot also secures the cord in the winder to prevent from unwinding it when you control the blind.
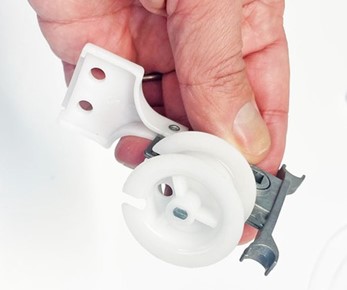 Open the base of your new wooden blind winder.
 If you are replacing the cord as well remember to add a knot in the middle of the total length.
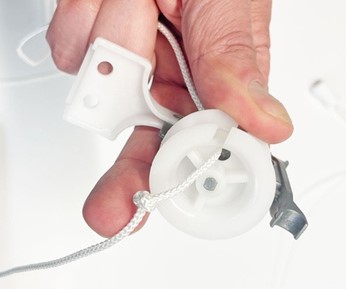 Pull the cord through the hole located in the winding wheel.
 Each side of the wheel should also have a slot to pull the cord from. Each half of the cord should go to one direction.
 Wind the cord 3 to 4 turns, making sure they sit neatly without overlapping.
Cords that are not placed neatly on the winder may cause tangling in the future and make it harder to tilt your wooden blind.
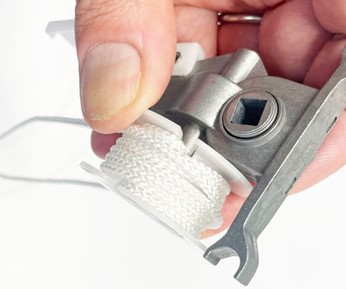 Repeat in the opposite direction. Most likely the last turn will have come overlap.
 Feed the cords through the base of the tilter controller while holding the wheel and cords.
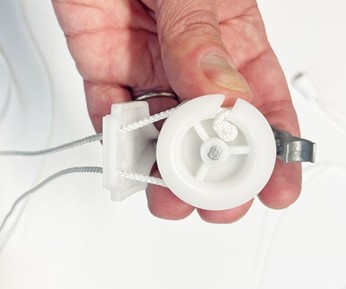 Close the tilter base leaving it on a slight angle to help you easily place the tiler back in the rail.
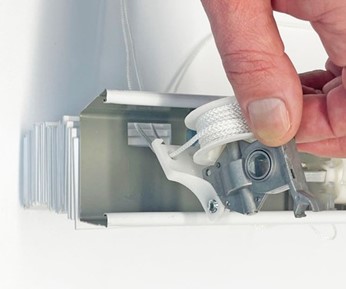 Pull cords through the rail slot.
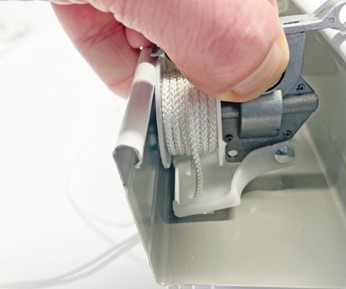 On a slight angle slot the base of the tilter into the slot.
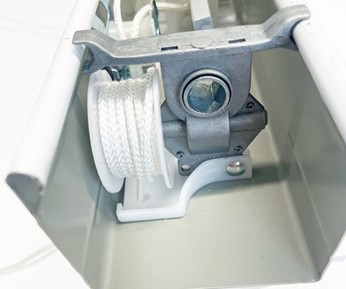 Lock the back of the tilter to the lip on the rail.
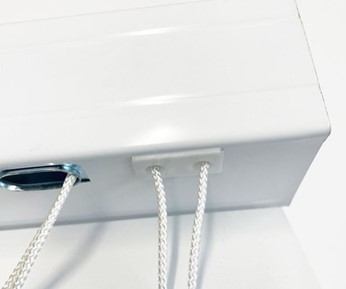 Check if tilter is sitting correctly in the slot.
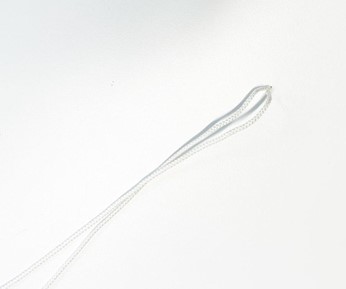 After placing the tilter on the rail ensure cords have the same length when stretched.
If cords don’t have the same length pull on the shorter side to level them.
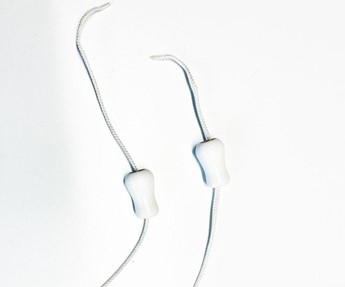 Slide tassels back on the cords.
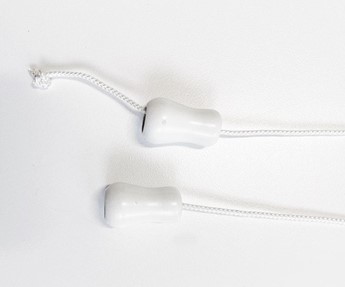 Make a simple knot at the end of the cords and pull the cord through to check its secure.
 Slide rod through the tilter controller.
 Place end locks at both ends of the rail.
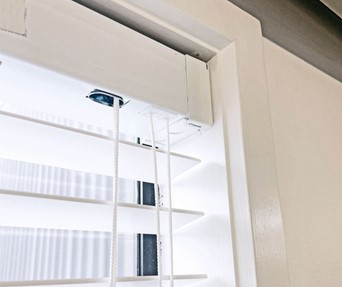 Place your blind back on the brackets and fascia over it and its done.
Want to keep this instruction Bookmark this page or download our how to replace tilter on venetian blinds here.
Customer Reviews